Building a Chat Interface in Power Apps for Case Management
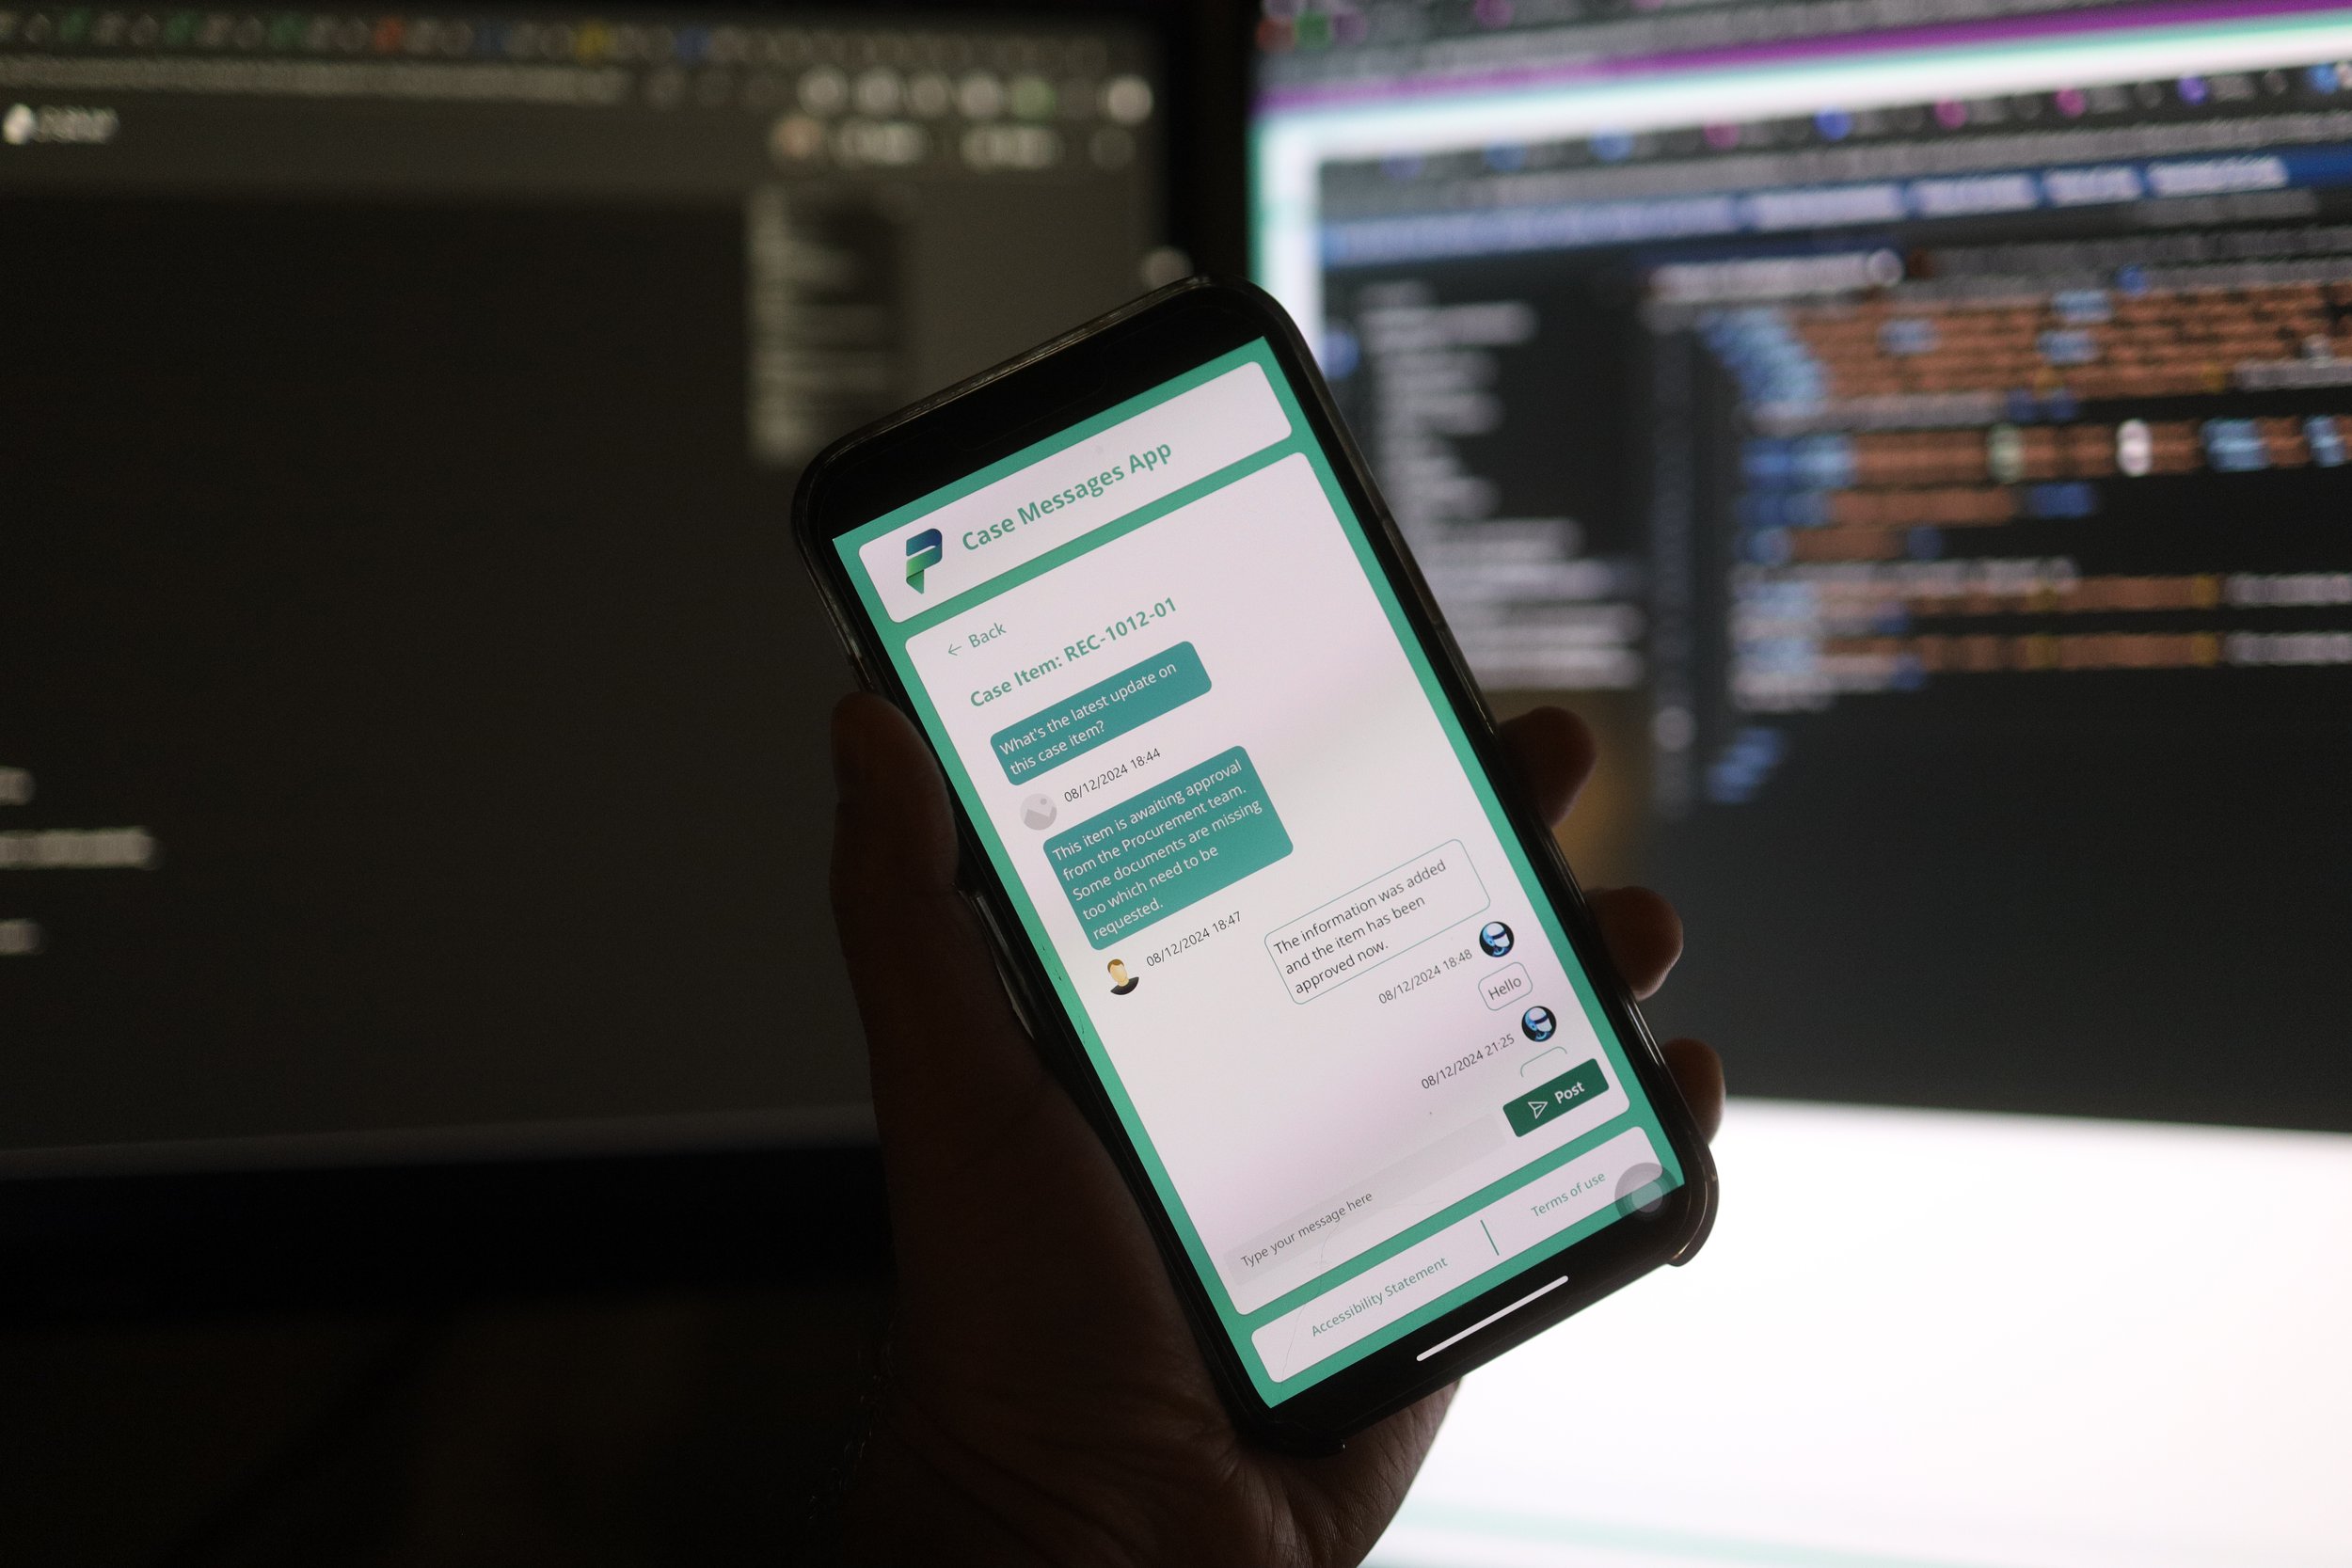
Want to add a sleek chat feature to your Power Apps case management solution? Let's build it together! This chat interface will let users easily share updates, with each message clearly showing who posted it and when.
1. Setting the Stage
Create a new Canvas app and choose the "Header and Footer" layout for your screen. Feel free to customize the header and footer as needed.
Add some design elements to enhance the screen's look.
2. Displaying the Conversation: The Gallery
Add a flexible height gallery to your screen. This will house our chat messages.
Set the gallery's width to: Parent.Width - Parent.PaddingLeft - Parent.PaddingRight
3. Storing the Chat Data: Dataverse to the Rescue
We need a place to store our chat messages! Create a Dataverse table named "Messages" with the following columns:
Message: (Multi-line Text) - To accommodate those long case updates.
PostedBy: (Email) - To track who said what.
Populate your Dataverse table with some test messages.
Add your new "Messages" Dataverse table as a data source to your Power Apps app.
Connect your flexible height gallery to the "Messages" table.
Remove any default controls within the gallery – we're about to replace them!
4. Crafting the Chat Bubbles: HTML Text Magic
Add HTML Text Control 1
HTMLText property (This code snippet rotates the control 90 degrees, a clever trick we'll use later!):
"<div style= 'border: 1px solid #28a197;border-radius: 8px; background: white; color: black; padding: 5px; display: inline-block;

 margin: 0px 30px;

 transform: rotate(90deg);

 transform-origin: top left;

 white-space: nowrap;'> " & ThisItem.Message & ""
AutoHeight: true
Add HTML Text Control 2
HTMLText Property (This code styles the chat bubbles and differentiates between user messages and others):
If(

 ThisItem.PostedBy = User().Email,

"<div style= 'border: 1px solid #28a197;border-radius: 8px; background: white; color: black; padding: 5px; '>" & ThisItem.Message & "",

"<div style= 'border: 1px solid #28a197;border-radius: 8px; background: #28a197; color: white; padding: 5px; '>" & ThisItem.Message & ""

)
Width: (Dynamically adjusts the bubble width based on message length)
If(

 HtmlText1.Height + Self.PaddingLeft + Self.PaddingRight > Parent.Width / 1.8,

Parent.Width / 1.8,

HtmlText1.Height + Self.PaddingLeft + Self.PaddingRight

)
X: (Aligns user messages to the right, others to the left)
If(

 ThisItem.PostedBy = User().Email,

Parent.Width - Self.Width - 20,

5

)
Color: (Sets different text colors for user vs. other messages)
If(

 ThisItem.PostedBy = User().Email,

RGBA(0,0,0,1),

Color.White

)
5. A Little Cleanup and User Pictures
Hide HTML Text Control 1: Set the Visible property of the first HTML Text control to false. It served its purpose behind the scenes!
Add the "Office 365 Users" Connection: We'll use this to display user profile pictures.
Add an Image Control to the Gallery:
Width: 32
Height: 32
Border Radius: 32 (Creates a nice circular profile picture)
Image: (Fetches the user's profile picture from Office 365)
If(

 // check if the the user has an email and a profile picture

 !IsBlank(ThisItem.PostedBy) And Office365Users.UserPhotoMetadata(ThisItem.PostedBy).HasPhoto,

// get the profile picture

 Office365Users.UserPhotoV2(ThisItem.PostedBy),

 SampleImage

)
X: (Positions the picture based on the sender)
If(

 ThisItem.PostedBy = User().Email,

Parent.Width - Self.Width - 20,

5

)
Y: HtmlText2.Y + HtmlText2.Height + HtmlText2.PaddingBottom
6. Timestamps for Clarity
Add a Text Label to the Gallery:
Text: ThisItem.'Created On'
Align: (Aligns the timestamp based on the sender)
If(

 ThisItem.PostedBy = User().Email,

"End",

"Start"

)
X:
If(

 ThisItem.PostedBy = User().Email,

Parent.Width - Self.Width - Image1.Width - 20,

Image1.Width + 5

)
Y: Image1_1.Y
7. Sending New Messages
Add a Horizontal Container: Place this within the main container of your screen.
A Text Input control for users to type their messages.
A Button to submit the message.
Button OnSelect Property: (This code adds the new message to your Dataverse "Messages" table)
Patch(

 Messages,

Defaults(Messages),

{

 Message: TextInputCanvas1.Value,

 PostedBy: User().Email

}

);
Reset(TextInputCanvas1)
That's a Wrap!
You've now built a dynamic, responsive chat interface within your Power App. This chat will look great and function smoothly across desktops, laptops, and mobile devices.


